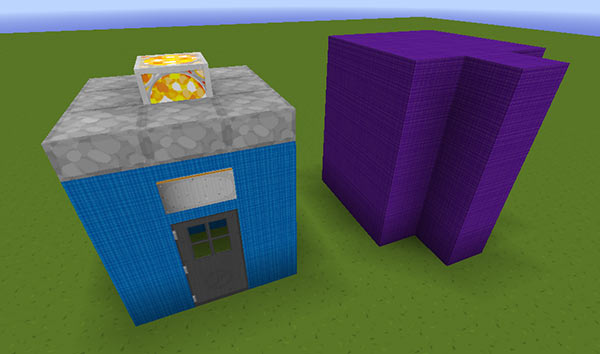
Custom Chameleon block presets
The TARDIS Chameleon Circuit GUI has a page set up so that server admins can add a custom block presets.
Custom presets need to be a certain size and shape:
- Maximum 4 blocks tall
- Maximum 3 blocks wide
- Maximum 3 blocks deep
- A single 4 block column at the front

You can build the custom preset with almost any block (attachable/hanging blocks can sometimes be an issue), it can contain empty spaces (AIR), and there should be a door in it somewhere (iron, wood and trap doors will all work).
When you build it, start by facing EAST so you are looking at the FRONT of the design.
Make preset command
Once you have constructed your new design, you need to create a preset file for the TARDIS plugin to use. The easiest way to do this is to use the /tardisadmin make_preset [name] command.
To use the command:
- Face the front of the preset (you should be facing EAST)
- If the bottom left corner block is empty (AIR), place a sponge block there instead
- Run the
/tardisadmin make_preset [name]command, change[name]to the nmae you want to give the preset (one word, lowercase) - Click the bottom left corner block
The plugin writes custom data to the file in the plugins/TARDIS folder called custom_presets.json
If you use the same name as an existing custom preset, it will be overwritten/updated. A unique name will be appended to the file.
Final steps
If your custom preset contained a sign, you can change the text that is displayed on the second and third lines (the first line is reserved for the player’ name).
- Stop the server
- Open the plugins/TARDIS/custom_presets.json file and find the section starting corresponding to the name you gave the preset
- Within that section look for the
signkey - Edit the two entries to the text you want on the sign - make sure you don't remove the double quotes
- Save the file
- Start up the server and open the Custom presets page in the Chameleon GUI
- Test the preset by rebuilding the TARDIS in each direction
Can't find the plugins/TARDIS/custom_presets.json file?
You are probably using an older version of the plugin that only supports one custom Chameleon preset - see the old instructions here