Dynmap
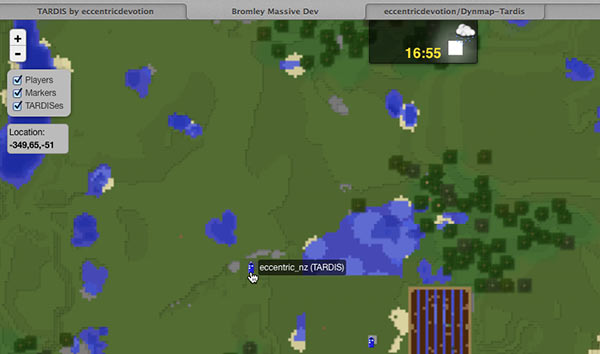
If you have Dynmap installed on your server, you can use the mapping module to display the real-time locations of
all TARDISes. For version 5.0.0 and above set modules.mapping: [true\false] and mapping.provider: dynmap in the TARDIS config.
As of TARDIS v4.6.2 the Dynmap-TARDIS add-on plugin has been integrated into the main TARDIS plugin. To enable/disable TARDISes
in dynmap, set mapping.enabled: [true\false] and mapping.provider: dynmap in the TARDIS config or run the
commands /tardisconfig mapping [true|false] and /tardisconfig provider dynmap.
Installation
-
Enable the TARDIS mapping module in the TARDIS config:
/tardisconfig mapping true/tconfig provider dynmap
-
Install Dynmap as per the instructions found on the Dynmap page. Run the server once to generate the default Dynmap files and folders.
-
Put the tardis.png icon file (
 ) into the
plugins/dynmap/web/tiles/_markers_/ folder.
) into the
plugins/dynmap/web/tiles/_markers_/ folder. -
Run the command
/dmarker addicon id:tardis newlabel:tardis file:plugins/dynmap/web/tiles/_markers_/tardis.png -
Stop and start the server.
-
Render the map.